
Cast your mind back to school, science class to be exact, because we’re going to be looking at the Electromagnetic Spectrum. Don’t want to go there? It’s ok ‘cos I’m explaining it anyway.
The spectrum is all of the different types of sources of electromagnetic radiation stacked together by wavelength and frequency.
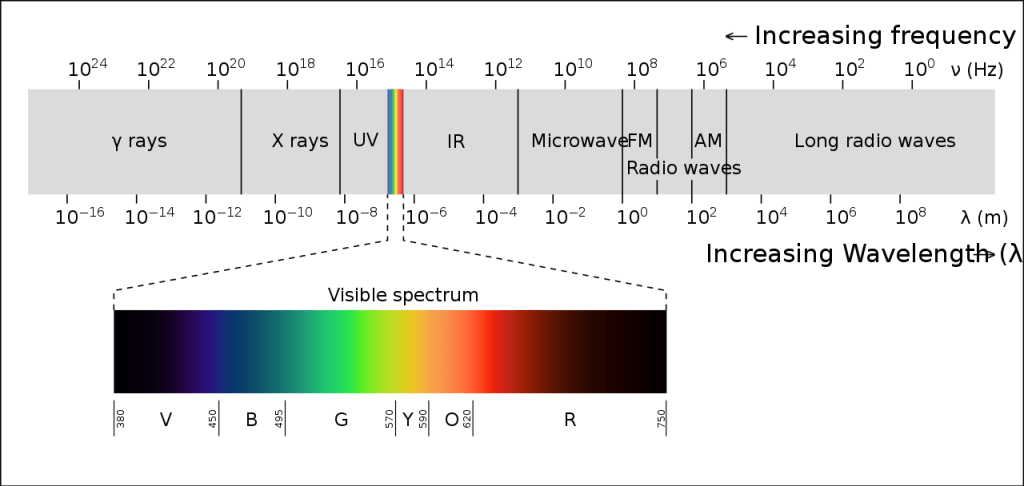
So it contains gamma radiation, x rays, microwave and radio. Wedged in there is the visible light, the stuff we normally choose point cameras at. While we are still in our mental classroom remember that old phrase they used to trot out? Richard Of York Gave Battle In Vain? It’s the order of the colours in the visible light spectrum with violet hanging out at one end and red at the other, this is where we’re headed off to with this experiment.
Infrared photography is really popular at the moment. There’s plenty of strange white trees and dark skies on Instagram. There’s over 200,000 uses of the hashtag #infraredphotography on Insta, it’s a feed full of the most amazing images. Of course, this technique also how some cameras work in the dark, like the trail camera I was playing with only last week. That’s a super useful feature on security and CCTV systems.
There’s a few different ways of getting in on the infrared art trend. You can get an older DSLR camera altered to remove the inbuilt infrared filtering system (you can do it yourself if you are brave/stupid). There’s infrared film, if you are into that. You can get yourself an infrared filter and try it that way on your camera. Or there’s a shortcut if you get a filter and a camera phone.
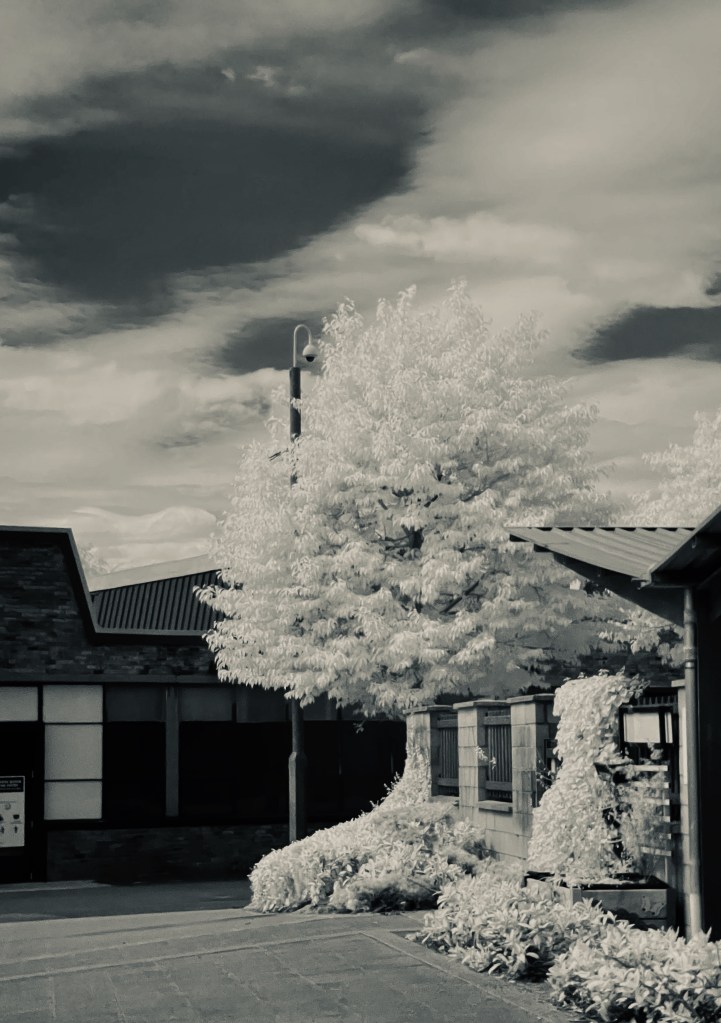
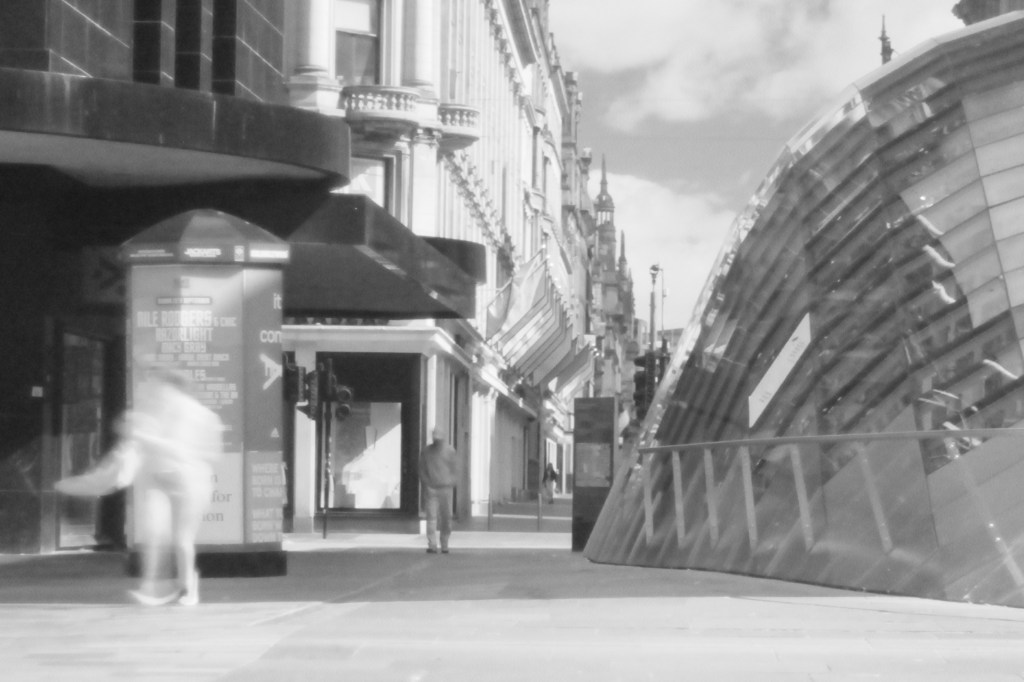
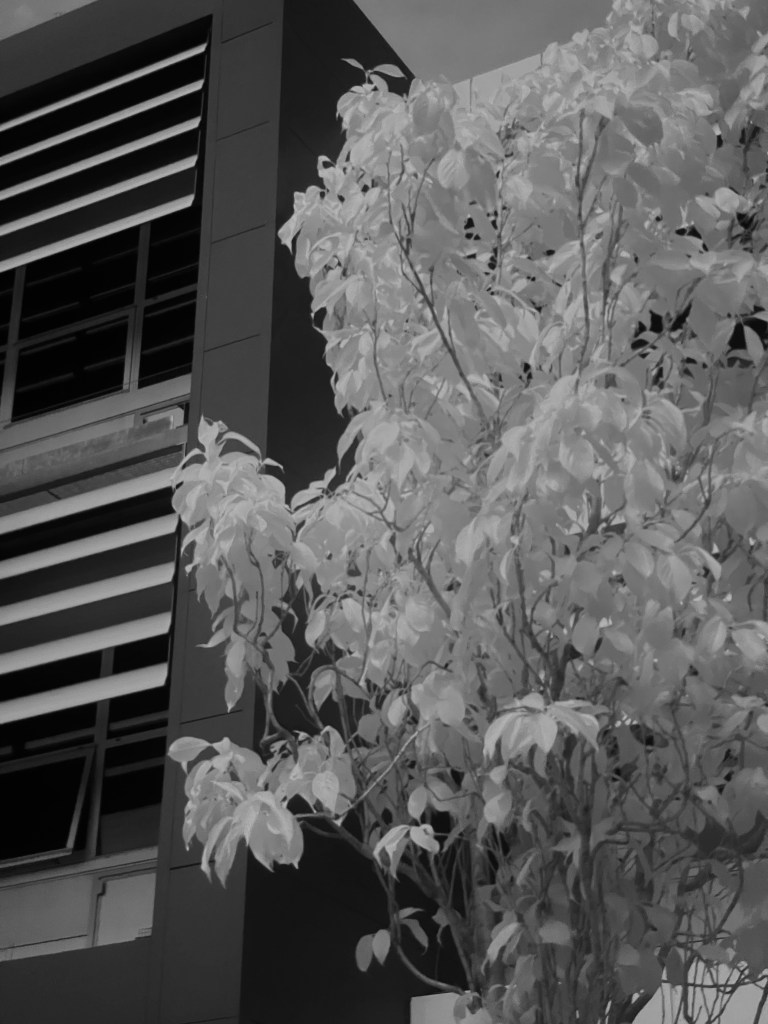
You just hold the filter over the lens on the phone and take a photo on a bright day. It’s going to come out all red but a little in phone edit to convert the image to black and white at it’s done. That’s how the 2 images above with trees were created. The one of the buildings and the city street? That was the same filter on my DSLR but it’s just not as impressive in an urban environment.
So at the other end of the spectrum, literally in this case, is ultraviolet. You can get yourself a converted camera to shoot in UV, it’s the same as the infrared conversion but it becomes “full spectrum”. There’s some other kit you might need to pick up as well. This is probably a route folk would go down if you are serious or in dermatology. It shows up skin damage as UV light is what is responsible for your fine sun tan, or your daft sun burn, or your very worrying skin cancer. Fun fact – if you put on sun block and take a shot of your face it would look like you had put paint on it because it’s blocking the UV.
Still we can have some fun with this without a load of kit and expense.
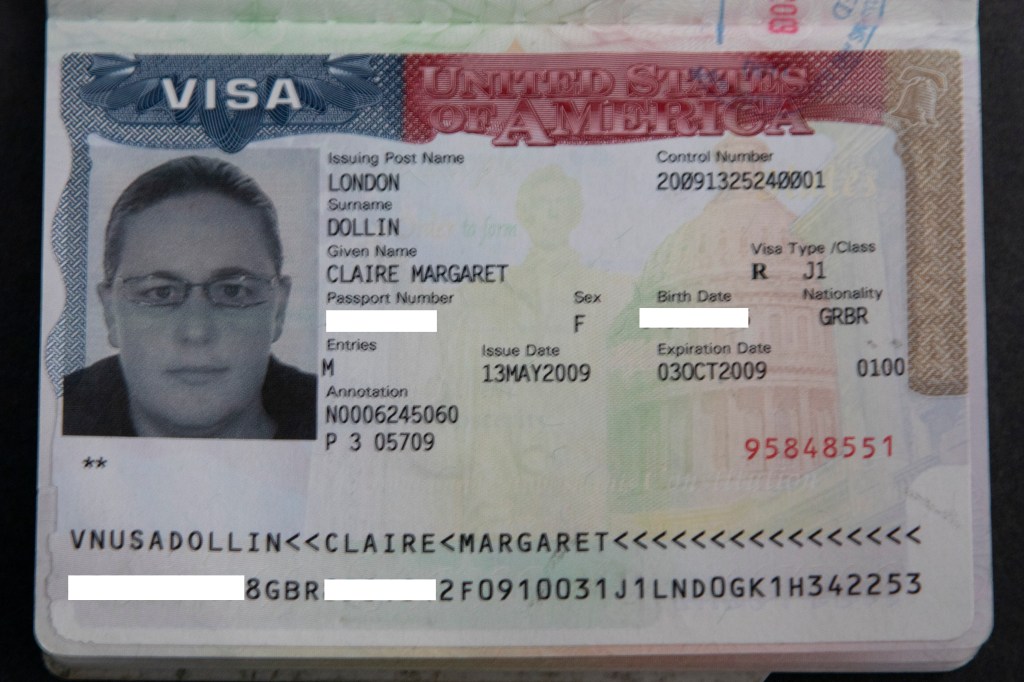
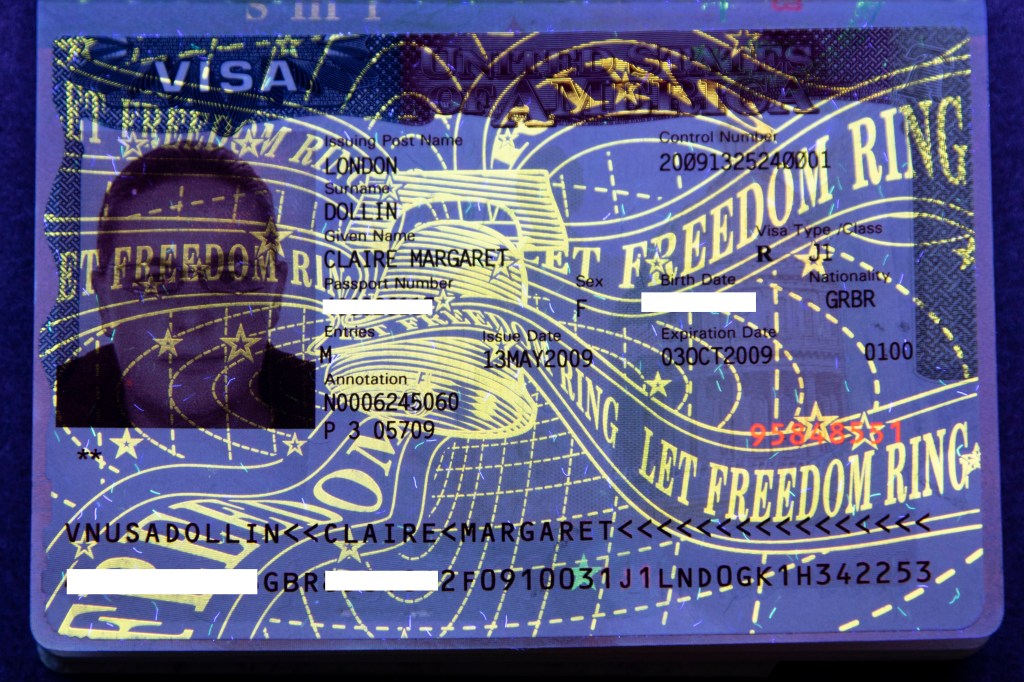
So if you get yourself a black light (yup, just like in the clubs or on CSI – I’m showing my age here) then you can make the most amazing things show up. Just block out most of the light so they become really bright. In other words, shoot in the dark. So money, driving licences, passports, etc all have security protection using different methods. One is to have a printed layer that would normally be invisible to the naked eye over it. When the document is checked with a black light there’s a chance that a fraudster would not have gone to the bother of creating this design as well. This one surprised me as I assumed it would not be in the same chance of being copied as a passport itself. The passport it is in was before the biometric era and was rather boring under UV light. The biometric passport I have now is fascinating, there’s a different animal on every page. Those images are taking a little longer to edit as I don’t want to share my passport number or any details on the internet for all to see.
When you get bored of looking at all the bank notes you can find… there’s the world of UV makeup that makes for fab fashion images (if you find someone more skilled at applying makeup than me, obviously).
So did you survive your trip back to science class? Was it worth it? It’s completely worth giving it a try. I’ll probably be giving infrared a few more goes.

1 comment