Weather

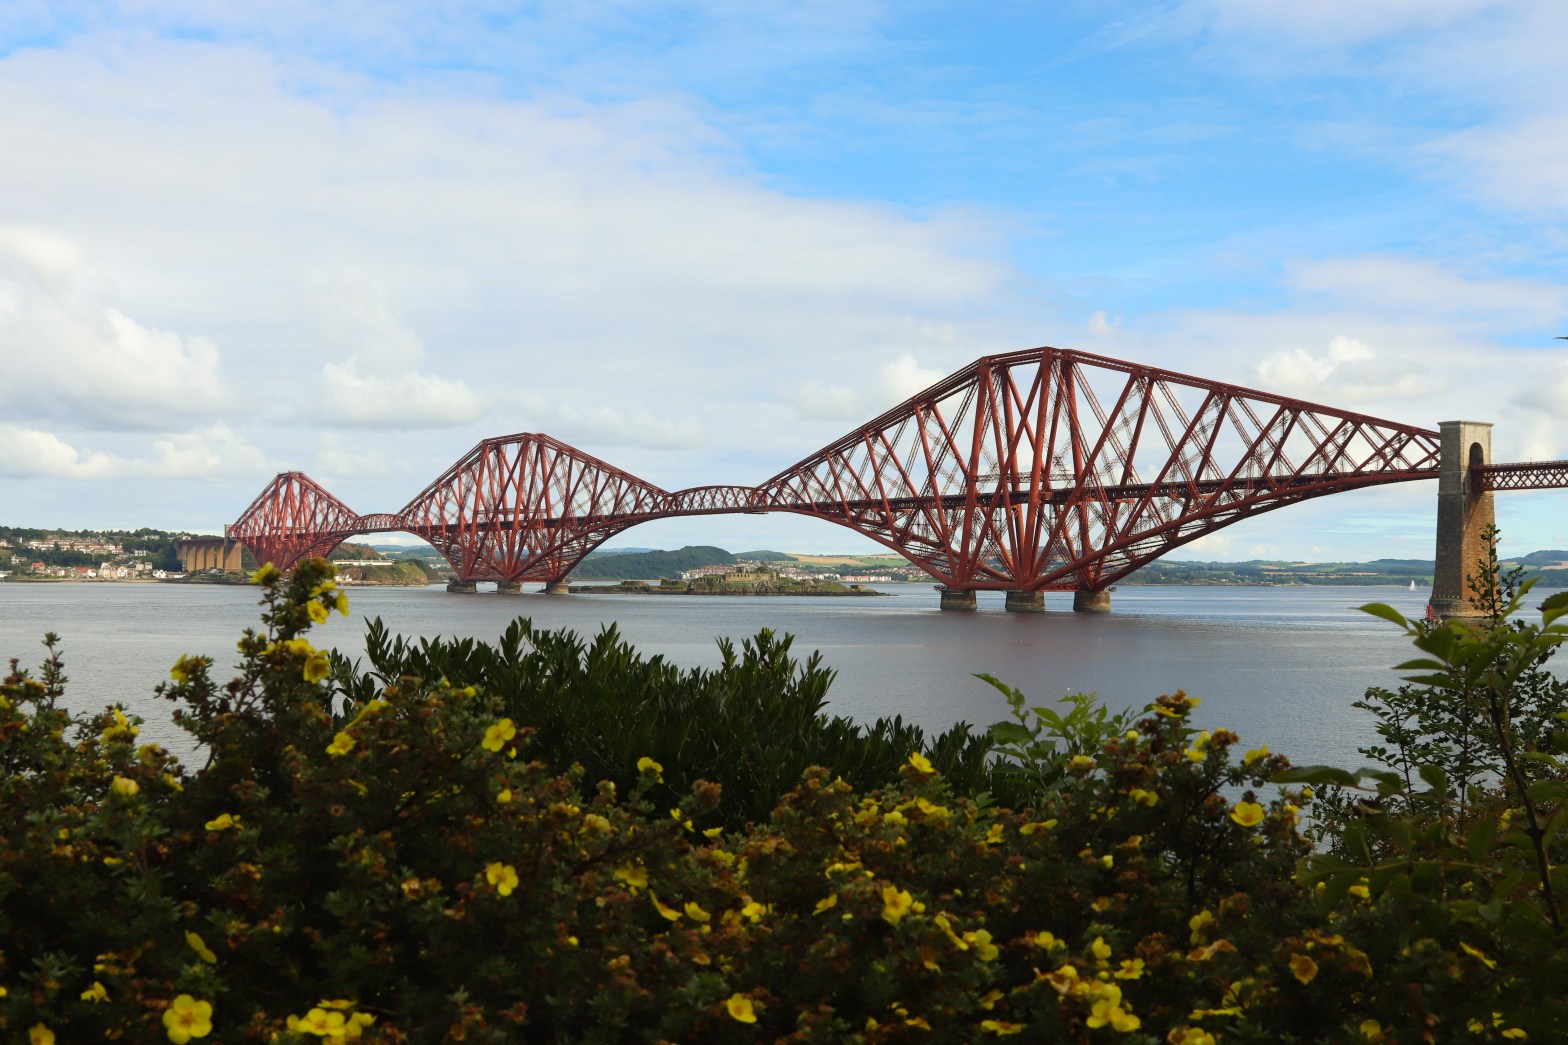
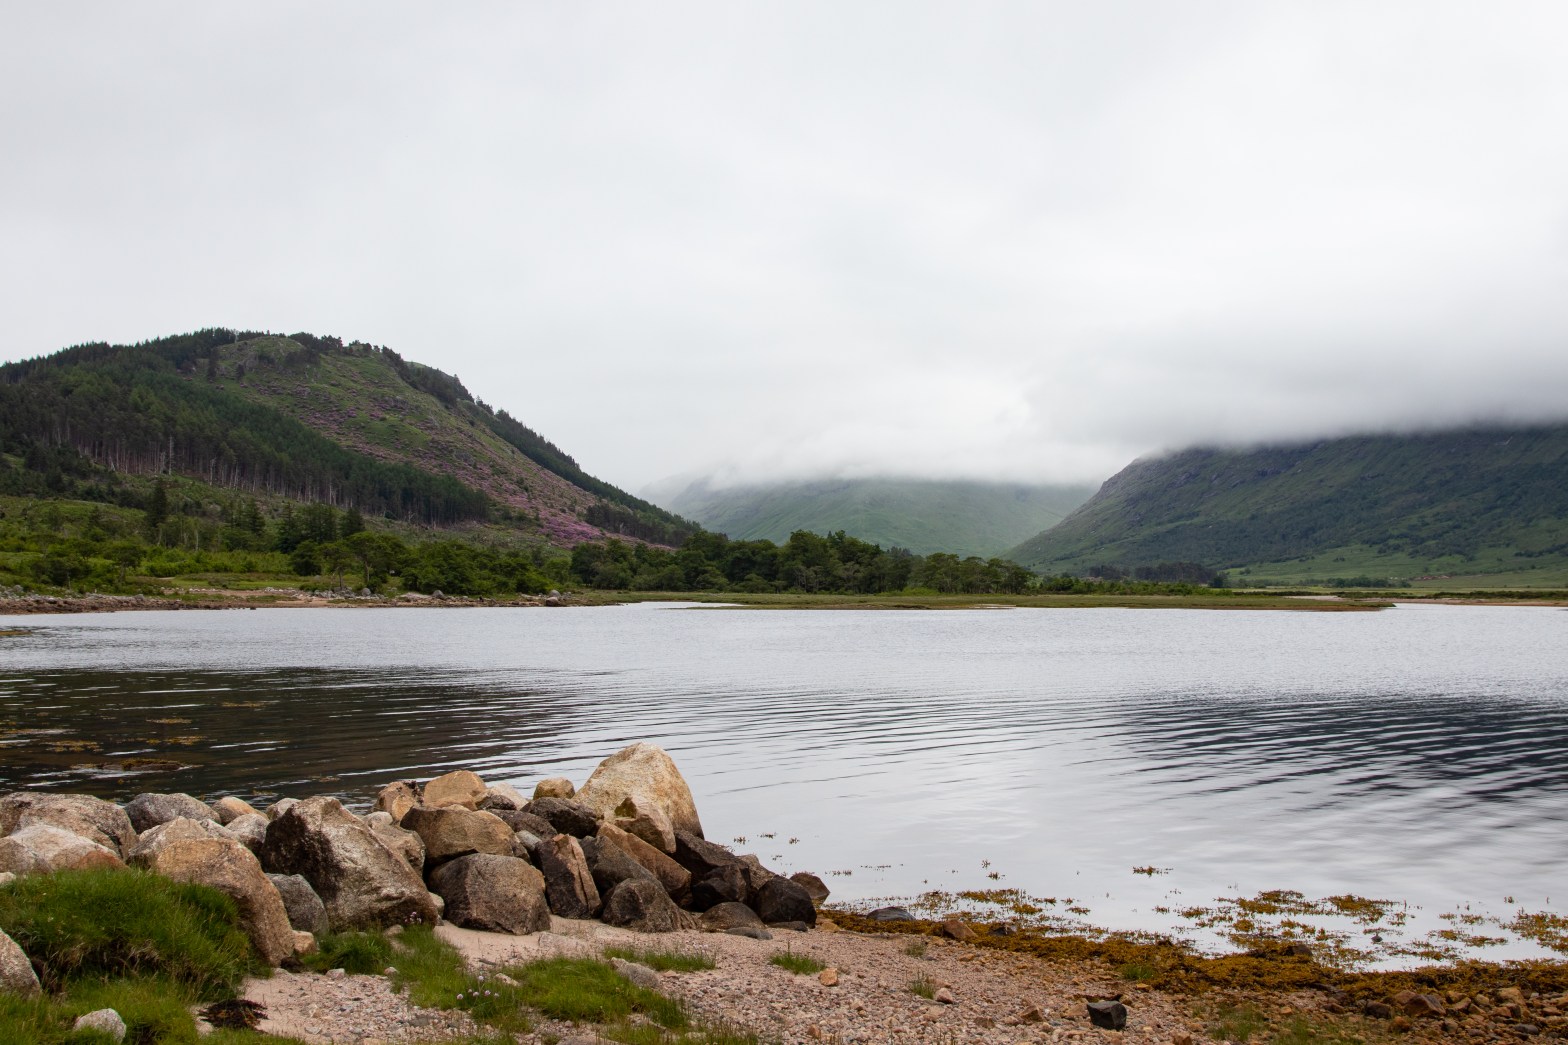
It never quite plays ball when you want it to…. I went to Glencoe last year. Hoped the weather would stay with the glorious sunshine I drove up in. It was warm and I genuinely considered ordering an ice cream when I stopped at Inveruglas. Not that I felt I needed to stop driving but there’s such a nice view down Loch Lomond.

Did it stay like that… Did it heck. The clouds rolled in when we got to the Clachaig Inn and then stayed stuck there. Went out to Glen Etive the next day and the mountains were hidden all day behind clouds. It was June so I don’t feel like I was asking for much getting to get some decent views. Glencoe and Glen Etive are home so some of the best views in Scotland. Even the big Hollywood movies turn up there from time to time. The now iconic image of Daniel Craig’s Bond standing next to his DB7 in Skyfall was shot in Glen Etive. Actually, now I think about it, the clouds were hanging about the mountains then too. I made an effort to try and not allow it to take away from the trip but it, eventually, did.

I know my current set up isn’t waterproof. Ok, the 24-105mm lens IS proofed as it belongs to Canon’s pro range but the body would suffer if I did it too much. The body has been pretty soaked before, I should really stop doing that. I once stood for an entire afternoon getting shots of a parade in Glasgow and never paid too much attention to the drizzle till I got home. Maybe one day I’ll win the lottery and upgrate to a full mirrorless setup, or be able to get a Canon 6D Mark 2. The 6D I see as the end of the line for me with DSLR bodies; going full frame and weatherproof at the same time. However, back to the subject, clouds don’t always mean rain. It’s living with the grey of winter that really gets me down photography wise, as it doesnt seem like there’s much colour out there.

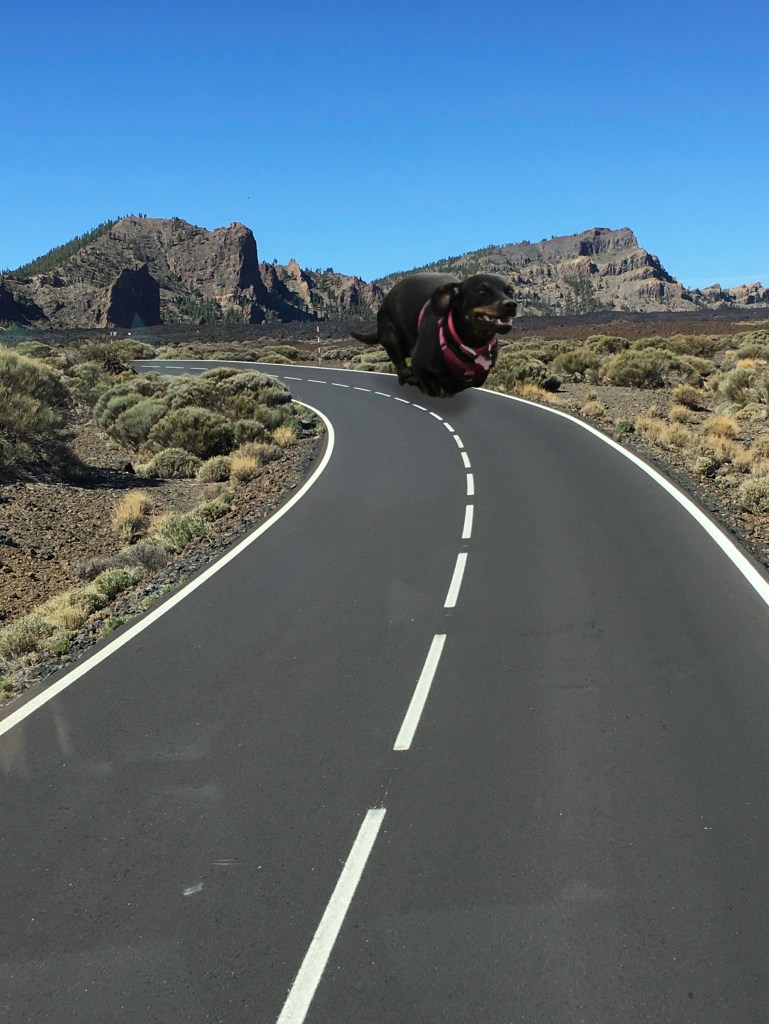
I suppose the lesson here is to work with what you have, even if what you have doesn’t seem like much. Photoshop’s sky replacement is never going to fix those clouds. I’m sure I coud use it to change something, purple clouds maybe? I’ve been accused of messing with the sky before. The intense blue of the sky from Mount Tiede in Tenerife was no fake, I assure you. Just this real sky from high above the little fluffy clouds over an otherworldly terrain that has played the part of alien planets in film and TV. It’s a dark sky location for star gazing for a reason and just generally beautiful. BUT we can’t always be in the blue skies and warm temperatures of Tenerife.

“I can see the curve of the Earth from here!”

So where am I going with this little wander down memory lane? Two big takeaways – one…. Stop letting the weather stop the camera getting out. Take the grey with the summer colour and work with it. Second…. Never Photoshop a sky. Keep it real. I did this anyway but I’m not for changing. We don’t always have beautiful blue skies and fluffy white clouds here in Scotland so why lie about it?

Off The Visual Spectrum

Cast your mind back to school, science class to be exact, because we’re going to be looking at the Electromagnetic Spectrum. Don’t want to go there? It’s ok ‘cos I’m explaining it anyway.
The spectrum is all of the different types of sources of electromagnetic radiation stacked together by wavelength and frequency.

from Wikipedia

So it contains gamma radiation, x rays, microwave and radio. Wedged in there is the visible light, the stuff we normally choose point cameras at. While we are still in our mental classroom remember that old phrase they used to trot out? Richard Of York Gave Battle In Vain? It’s the order of the colours in the visible light spectrum with violet hanging out at one end and red at the other, this is where we’re headed off to with this experiment.

Infrared photography is really popular at the moment. There’s plenty of strange white trees and dark skies on Instagram. There’s over 200,000 uses of the hashtag #infraredphotography on Insta, it’s a feed full of the most amazing images. Of course, this technique also how some cameras work in the dark, like the trail camera I was playing with only last week. That’s a super useful feature on security and CCTV systems.
There’s a few different ways of getting in on the infrared art trend. You can get an older DSLR camera altered to remove the inbuilt infrared filtering system (you can do it yourself if you are brave/stupid). There’s infrared film, if you are into that. You can get yourself an infrared filter and try it that way on your camera. Or there’s a shortcut if you get a filter and a camera phone.

You just hold the filter over the lens on the phone and take a photo on a bright day. It’s going to come out all red but a little in phone edit to convert the image to black and white at it’s done. That’s how the 2 images above with trees were created. The one of the buildings and the city street? That was the same filter on my DSLR but it’s just not as impressive in an urban environment.

So at the other end of the spectrum, literally in this case, is ultraviolet. You can get yourself a converted camera to shoot in UV, it’s the same as the infrared conversion but it becomes “full spectrum”. There’s some other kit you might need to pick up as well. This is probably a route folk would go down if you are serious or in dermatology. It shows up skin damage as UV light is what is responsible for your fine sun tan, or your daft sun burn, or your very worrying skin cancer. Fun fact – if you put on sun block and take a shot of your face it would look like you had put paint on it because it’s blocking the UV.
Still we can have some fun with this without a load of kit and expense.

So if you get yourself a black light (yup, just like in the clubs or on CSI – I’m showing my age here) then you can make the most amazing things show up. Just block out most of the light so they become really bright. In other words, shoot in the dark. So money, driving licences, passports, etc all have security protection using different methods. One is to have a printed layer that would normally be invisible to the naked eye over it. When the document is checked with a black light there’s a chance that a fraudster would not have gone to the bother of creating this design as well. This one surprised me as I assumed it would not be in the same chance of being copied as a passport itself. The passport it is in was before the biometric era and was rather boring under UV light. The biometric passport I have now is fascinating, there’s a different animal on every page. Those images are taking a little longer to edit as I don’t want to share my passport number or any details on the internet for all to see.
When you get bored of looking at all the bank notes you can find… there’s the world of UV makeup that makes for fab fashion images (if you find someone more skilled at applying makeup than me, obviously).

So did you survive your trip back to science class? Was it worth it? It’s completely worth giving it a try. I’ll probably be giving infrared a few more goes.

Portraiture

I have a sort of existential dread and cold sweat that comes over me when I think about telling models (or indeed the poor friends and family) that end up in front of my camera what to do. So when portraiture came up in the course there was a little panic. This is probably the only time the coronavirus has been helpful as I could mostly work with people I knew to get the work done.

My poor mother… She hasn’t quite gotten over the shame of wandering round the building we’ve not long moved to dressed in my Harry Potter cosplay robe. Each of these images had briefs of their own. The self portrait is built of 6 different images and was almost a bit of a cheat. I didn’t want to turn my camera on myself directly, at that time anyway, so built it out of old selfies. The thing is I can take good shots of people if they don’t know it.

None of these were posed…..And I almost prefer these to formal, posed images. Heck “The Shoe Seller” is a bit of a portfolio fixture at this point. I accept that there’s a definite need for images that are posed. It’s maybe just not my thing just now. Need to work on it though because I’ll need to do a studio shoot or two when I get back into the college buildings.

Hands… Face… Space…

The final creative project for my still life unit in college. A recreation of the government’s Covid-19 advice graphic using my favourite tiny railway model people.

Hands – Hand sanitiser swimming pool complete with Baywatch lifeguard.
Face – A discarded face mask ski slope. Has various levels of difficulty.
Space – Get your health and safety signage painted by our elite crew of painters. Don’t worry they do clean up after themselves.

All done as set ups on my desk top. It’s one of the easiest things to do. The fight I had with photoshop at 1am to put the work together however…..

South Queensferry

Sitting on the edge of the Firth of Forth is a sweet little town better known for the iron rail bridge that cuts through and dominates the skyline. A place with its own history and teeming with sightseers currently, it’s a great place to visit. It does boast some great views of the 3 Forth bridges – the famous red rail bridge, Forth road bridge, and the new Queensferry Crossing.

All three bridges stacked up, looking west. If you move further to the east beyond the Queensferry Crossing then you can achieve amore startling effect as the grey road bridges stand out out over the red of the Rail Bridge. I didn’t manage to head out that way this time but did walk out from the town further west to get the shots to build a panorama.

As assembled in Photoshop and then reduced….. the original image is over 23,000 pixels long and broke WordPress. I’ll admit it does lose something in the reduction. The colour and vibrancy is kinda kicked out of it.

For more on the science of the iconic Forth Rail Bridge and it’s history check out Wikipedia.

Photoshop

I’ve gone over to the dark side. No, not really, I dont plan on making all my photos look artificial. It’s not my style but it does allow from some editing that I might not have done before. I’ve also been trying my hand at repairing an old family photo.

It was pretty badly damaged when I scanned it in at college nearly a year ago as part of my beginners night course. I managed to do most of the repair work in an evening but didn’t have the confidence then to repair the faces. The image on the left is how I left it after that session and, eventually, with the house move the original went into storage so I can’t even start it again just now. On the right is the best I can do at the moment to bring it back. The faces trouble me but I’ll keep practicing.

It’s not all restoration….. I had a bit of fun while I was practicing. Poor Frankie is the terror of the Tenerife roads.